
3rd Party APIs
This section is a guide on the 3rd Party Apps API section of Omnihubs
Guidance Video
What are API's in Omnihubs ?
The API Section in Omnihubs allows you to connect your chatbot with external services, fetch real-time data, and send dynamic information to users during a conversation. Instead of relying only on static messages, you can integrate APIs to fetch product details, check order status, or push data to your CRM directly from the chatbot flow.
This enables your chatbot to become more intelligent, versatile, and personalized, thereby improving user engagement and automating tasks seamlessly.
Benefits of using APIs in Omnihubs
Enable dynamic conversations by fetching real-time data from external systems.
Improve personalization by mapping API responses to user attributes.
Automate workflows by sending and receiving data without manual intervention.
Increase reliability with error handling and fallback messages when APIs fail.
Setting up API's in Omnihubs
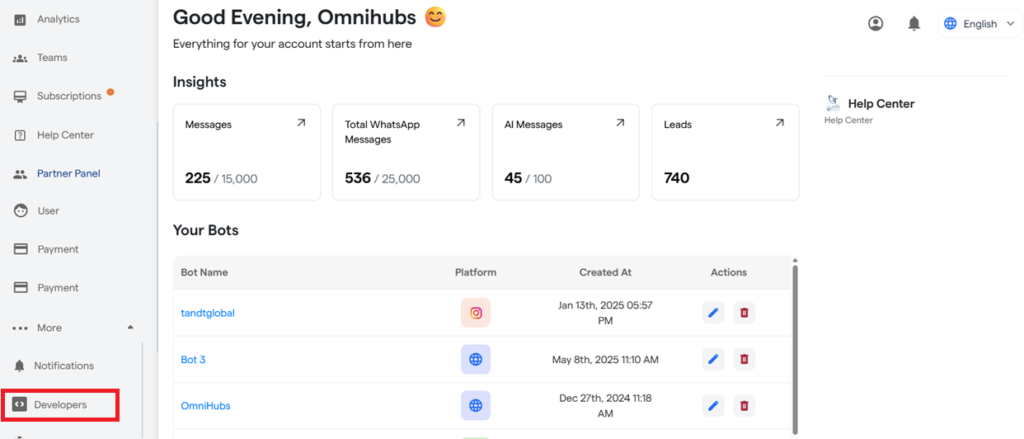
Login to your Omnihubs Dashboard.
Go to the Developer Section from the sidebar.
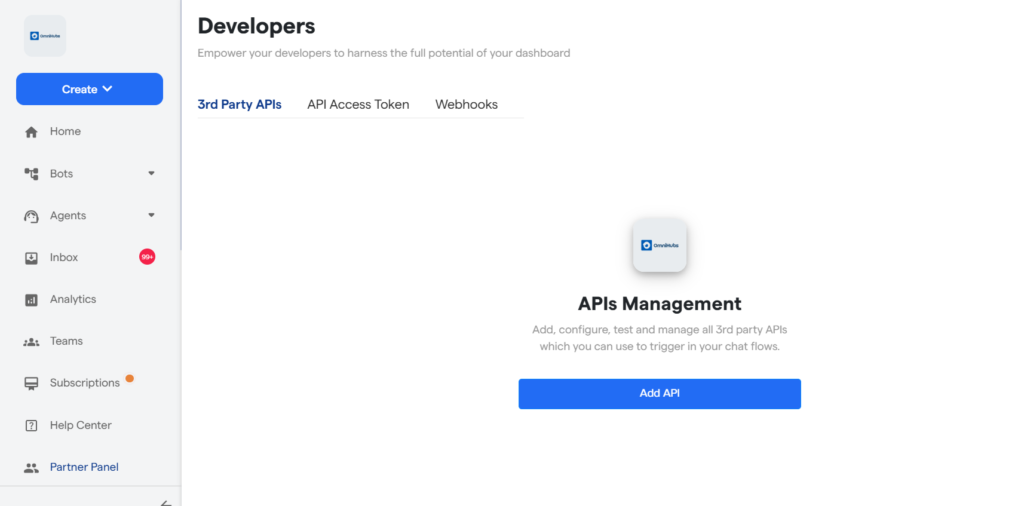
3. Click on “Add API” to add a new API.
4. To create an API, enter the following details:
Enter a Name for your API (e.g., Products API).
Paste the API URL you want to use.
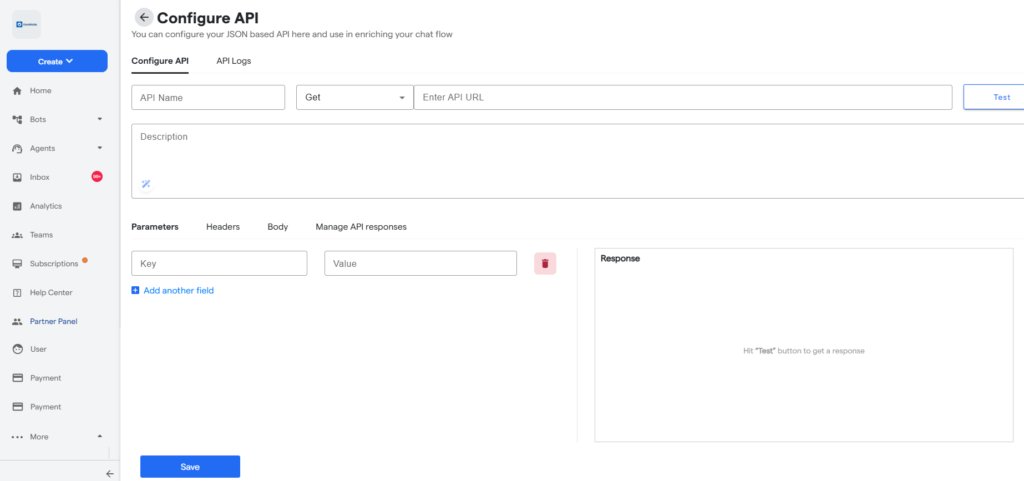
5. Click Test to see the API response. The response will appear in the Response Section.
6. Save the API configuration after testing. The user can also configure the parameters, headers, body, etc.
Configure API Details
Parameters Section
Add variables to your API URL.
Map custom attributes to dynamically pass user inputs.
Headers Section
Add headers required by your API.
You can also map attributes here for dynamic values.
Body Section
Add request payload in JSON format.
Supports static values or mapped attributes.
Manage API Responses
Once the API is tested, you can map API responses to custom attributes.
Example: Map the API’s
titlefield to a chatbot’s custom attribute.These attributes can then be reused later in the conversation flow.
Use API in Chatbot Flow
Create a new flow (e.g., Products Test).
Add default or custom questions to capture user inputs.
Open the Request Information Tab and select the API Component.
Choose the API you created earlier.
Set up response handling:
Success (200 status code): Redirect user to success message or next step.
Failure (4xx codes): Redirect user to a fallback message.
Server Errors (5xx codes): Redirect to another prompt (e.g., How was your day?).
Testing & API Logs
Test your API flow using “Test Live on WhatsApp Web”.
Navigate to Developer Section → Your APIs → Logs.
Here, you can check:
API call history
Response codes (200, 400, 500, etc.)
Errors and reasons for failure
FAQ's
Can I use multiple APIs in one chatbot flow?
Yes, you can configure multiple APIs and call them at different stages in your flow.
What if my API requires authentication headers?
You can add authorization tokens or keys in the **Headers section** of your API setup.
Can I pass user inputs dynamically to the API?
Yes, by mapping **custom attributes** to API parameters, headers, or body fields.
What happens if the API fails?
You can add authorization tokens or keys in the **Headers section** of your API setup.
Where can I debug API failures?
Check the **API Logs** section in the Developer tab to see request and response details.
If everything is correct and you are still unable to move forward, write to us at info@tandtglobal.net. We will respond back within 48 business hours.


