Creating and Managing Roles
This section contains essential information and usage guidelines for managing roles and permissions inside Omnihubs.
What is Roles?
The Roles section allows administrators to create custom permission sets that define what team members can view, modify, or delete across different areas of the omnihubs platform.
This helps enforce access control, strengthen data security, and maintain workflow governance within your organization.
By using roles effectively, you can ensure that every team member only accesses what is necessary for their responsibilities.
Navigation – More > User & Teams > Roles
Benefits of Roles
🔐 Granular access control based on hierarchy or function.
🛡️ Enhanced security by restricting sensitive actions.
⚙️ Modular permission assignment (Read, Write, Delete).
🎯 Structured operational governance.
👥 Scalable permission management for growing teams.
How to use the Roles Section?
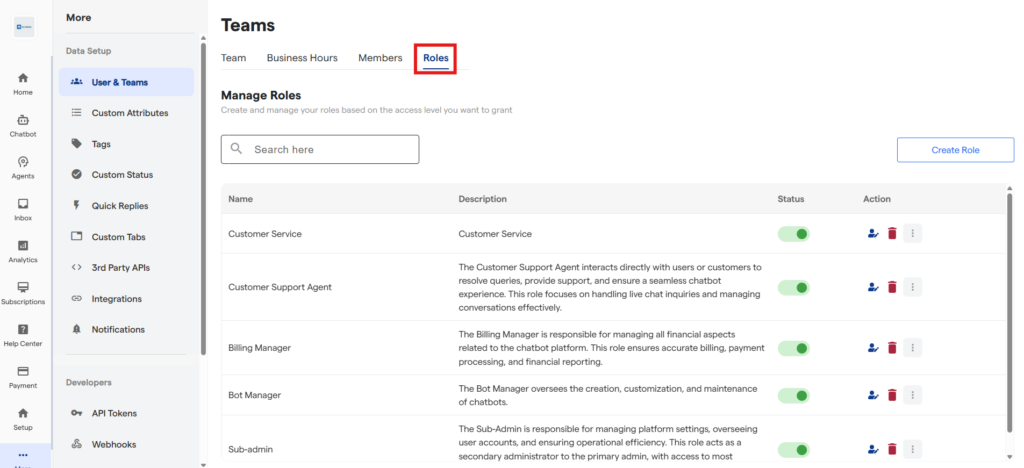
View Existing Roles
Go to the “More” section from the left sidebar.
Click on “User & Teams”.
Navigate to the “Roles” tab.
Here you can view:
Role Name
Description
Status (Active/Inactive)
Actions (Edit/Delete)
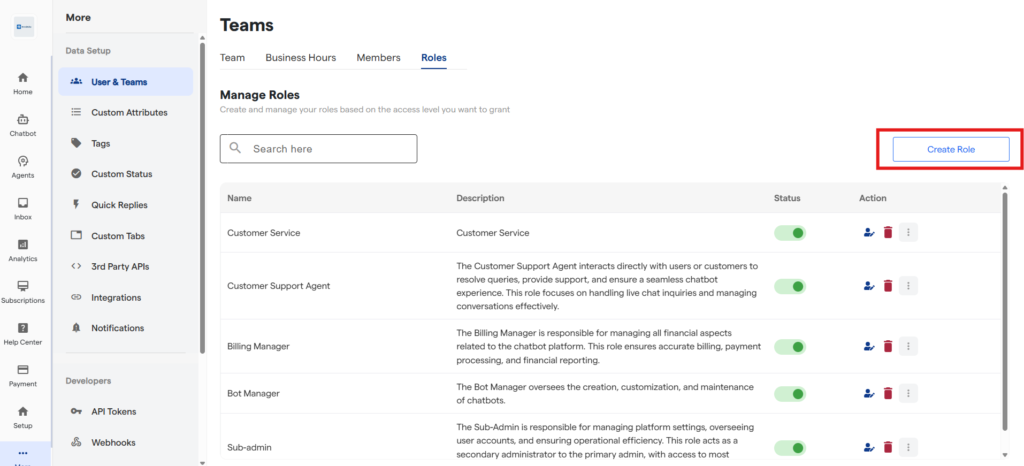
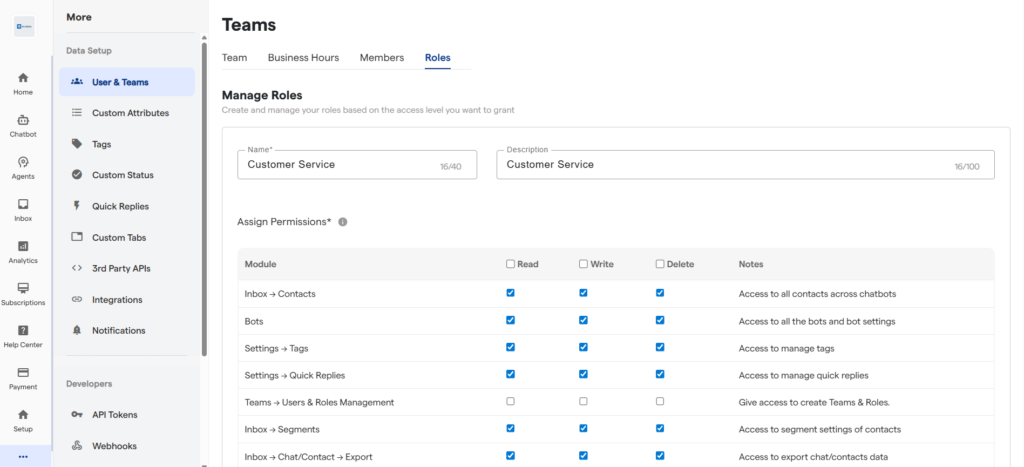
Create a New Role
- Inside the Roles tab, click on the Create Role button.
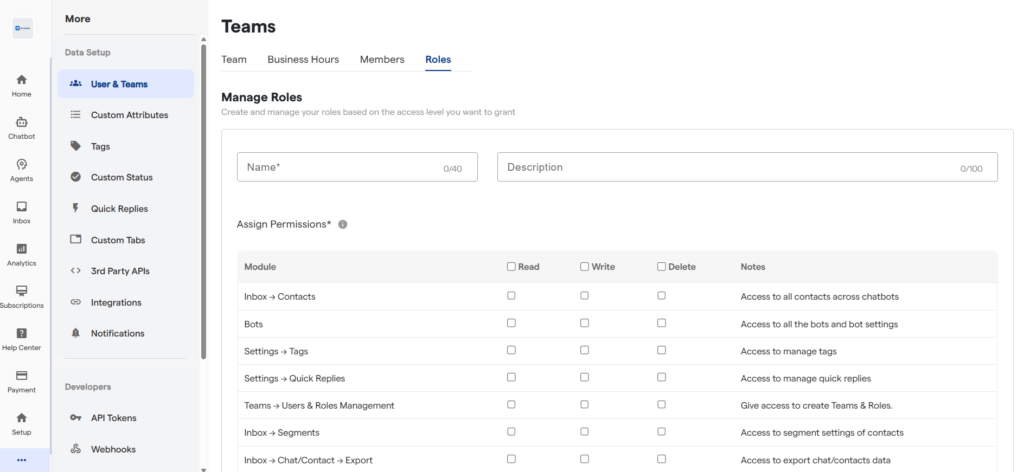
2. Add a Name and Description for your role.
3. Assign permissions by selecting the relevant sections.
Permissions include:
Read → Allows users to view the selected section.
Write → Allows users to modify content in the selected section.
Delete → Allows users to delete items within the selected section.
Permission Example (Inbox → Chats)
To understand better, here’s how permissions work in Inbox → Chats:
Read Access Users can view all chats across chatbots but cannot edit or delete them.
Write Access Users can view and edit chats but cannot delete them.
Delete Access Users can view and delete chats but cannot edit them.
4.After assigning necessary permissions, click on “Create Role” at the bottom.
Your role will now be created.
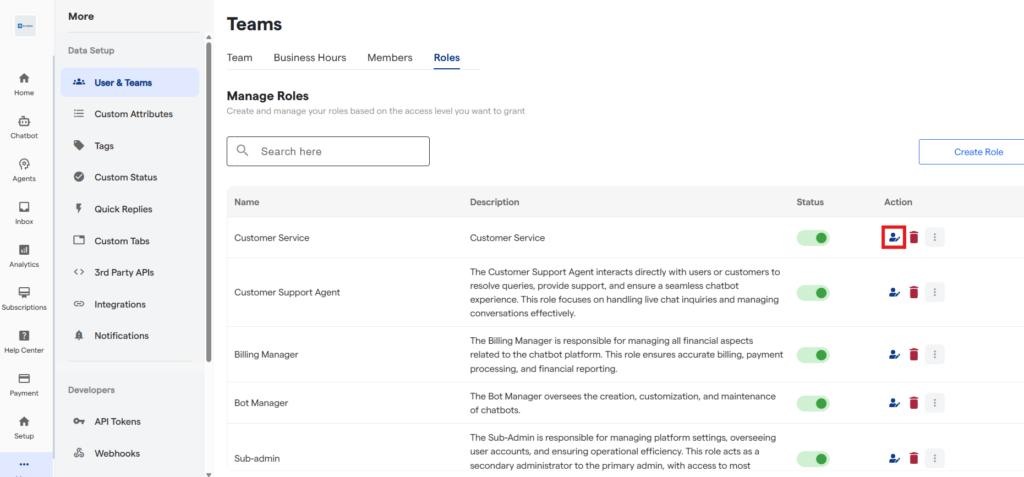
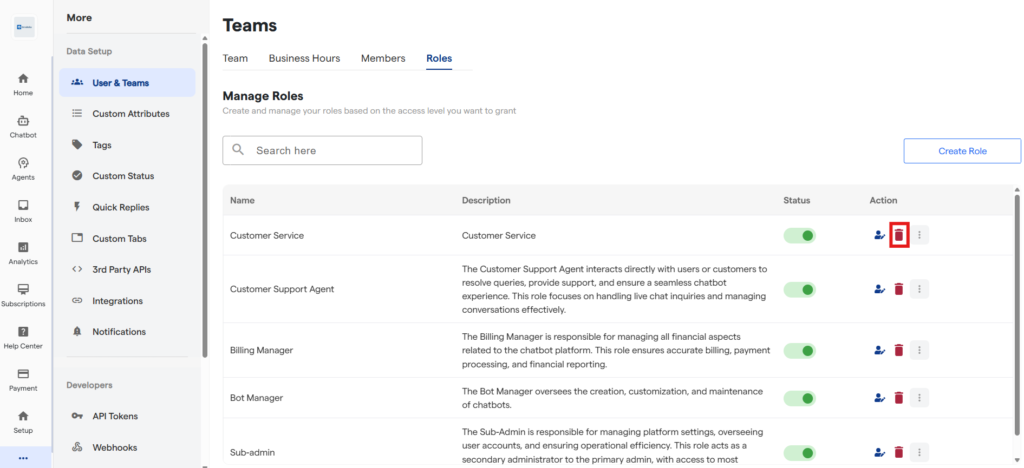
Edit a Role
Go to the “Roles” tab.
Locate the role you want to update.
Click on the Edit icon under the “Action” column.
4. Modify permissions, name, or description.
5. Click on “Save Changes” to apply updates.
Delete a Role
Navigate to the “Roles” tab.
Click on the Delete icon under the “Action” column.
3. Confirm the deletion.
Deleting a role may affect members currently assigned to it. Reassign users before deletion if required.
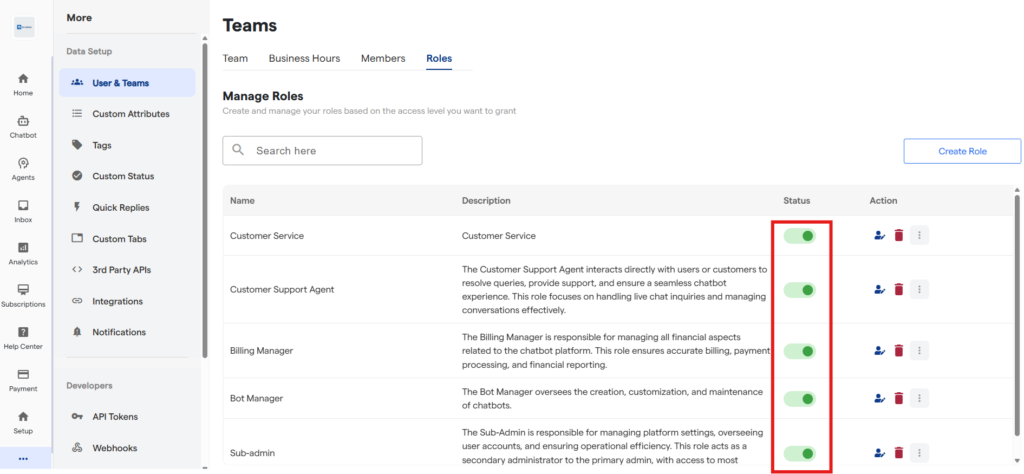
Role Status (Active/Inactive)
Active → The role can be assigned to team members.
Inactive → The role cannot be assigned but remains stored in the system.
You can toggle the role status from the Roles table.
FAQ's
Can I assign multiple roles to a team member?
No, each team member can be assigned only one role at a time.
What happens if I deactivate a role already assigned to someone?
That role will become non-functional, and the user will lose access to assigned permissions.
Can I duplicate an existing role to create a similar one?
Currently, role duplication is not available. You must manually create a new role.
Is there a default admin role?
Yes, the platform includes a default admin role with full access.


